DIY Rabbit Nesting Box: Step-by-Step Instructions for Beginners
Build your own rabbit nesting box with ease! Follow our beginner-friendly, step-by-step guide to create a cozy home for your bunny.
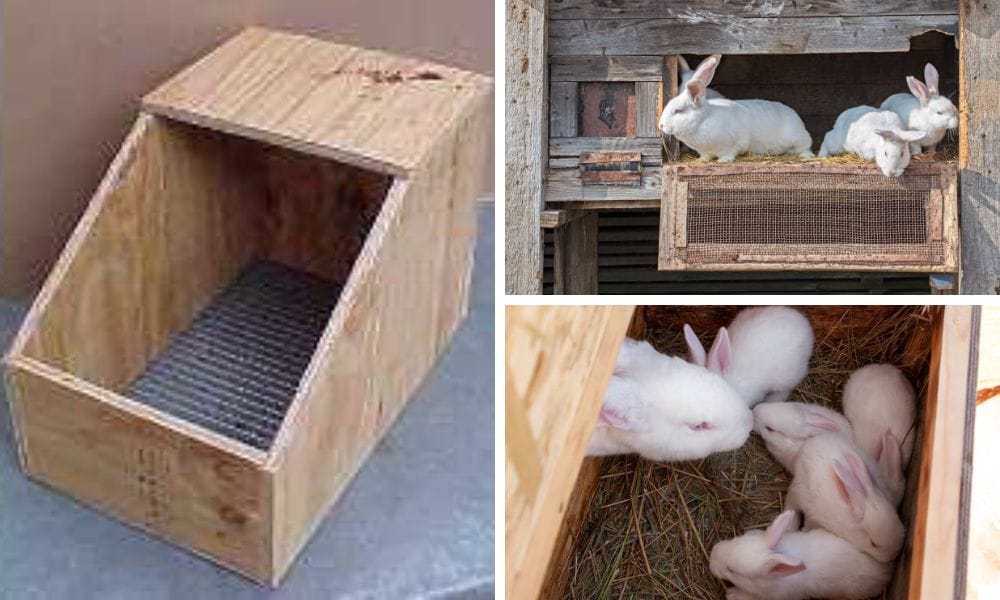
Creating a comfortable and secure nesting box for your rabbits is essential, whether you’re a seasoned breeder or a new rabbit owner. A well-built nest box, constructed with durable materials like welded wire, can provide a safe space for does to give birth and raise their kits. This guide will walk you through the process of building a rabbit nesting box from scratch, ensuring that your furry friends have a cozy spot to call home.
Key Takeaways:
- Learn how to build a rabbit nesting box with simple materials and tools.
- Understand the importance of proper dimensions and materials for the comfort and safety of your rabbits.
- Discover tips for easy cleaning and maintenance of your rabbit nesting box.
Understanding the Basics of a Rabbit Nesting Box
Before diving into the construction process, it’s important to understand what a rabbit nesting box is and why it’s crucial for your rabbits. A nest box serves as a private and warm place for a doe to give birth and care for her babies, also known as kits. The box should be cozy, secure, and easy to clean to ensure the health and well-being of the rabbit family.
When considering the design, remember that the box should be large enough for the doe to move around comfortably but small enough to prevent the kits from being dragged away or lost. Some nest boxes are made from wire, which provides structural integrity and helps prevent issues like kits being dragged onto the wire floor of cages. The dimensions of the box will vary depending on the breed of your rabbits, but a standard size is typically around 18 inches long, 10 inches wide, and 10 inches high.
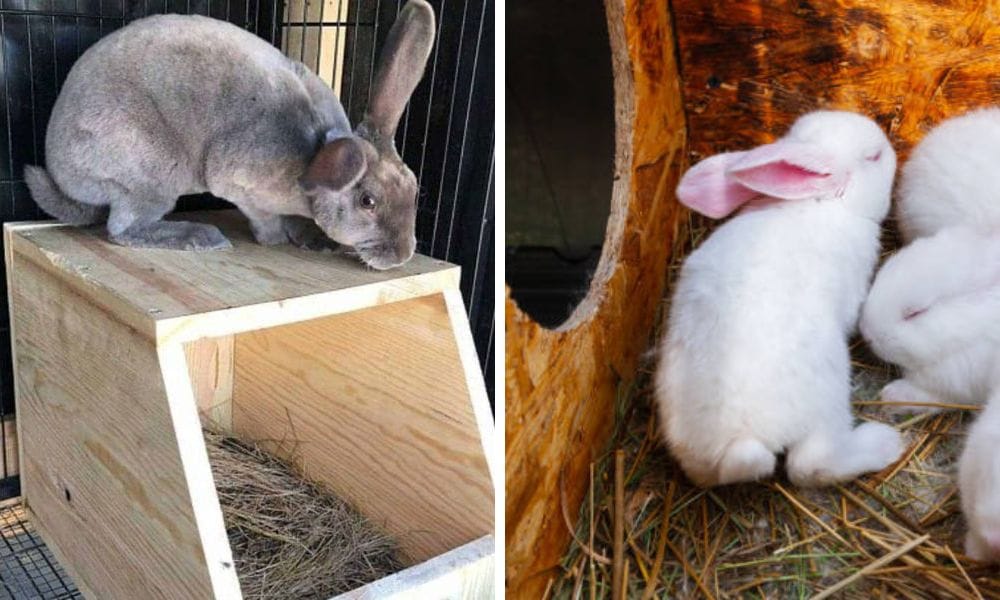
Selecting the Right Materials
The choice of materials for your rabbit nesting box is crucial for the safety and comfort of your rabbits. Quality wood, such as plywood, is a popular choice due to its durability and ease of construction. Avoid treated woods that can be toxic to rabbits. For the bottom of the box, hardware cloth can be used to ensure proper ventilation and easy cleaning, but make sure the edges are not sharp to protect the rabbits.
In addition to wood and hardware cloth, you’ll need screws or nails to assemble the box, a saw to cut the wood to the correct dimensions, and a staple gun to attach the hardware cloth. Consider adding a lip to the front of the box to keep the bedding and kits inside while allowing the doe easy access. Drop nest boxes, which are wire baskets that hang below the floor of the cage, can also be beneficial. This design helps reduce kit loss by allowing the mother doe to jump up to exit the box, thereby preventing kits from hanging onto her teats and potentially falling onto the wire below, which can lead to cold and death.
Step 1: Cutting the Wood to Size
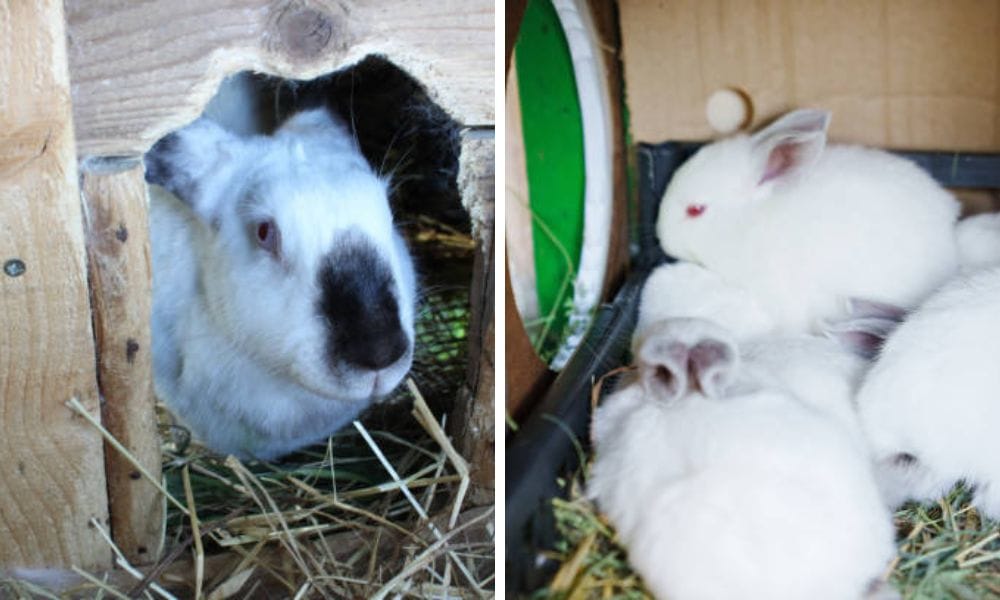
Begin by measuring and marking your plywood according to the dimensions you've decided on for your nest box. Use a saw to carefully cut out the pieces for the sides, floor, and top of the box. Remember to cut a piece for the front of the box with a lower lip to allow the doe to enter and exit easily while keeping the kits secure.
Step 2: Assembling the Box
Once you have all your pieces cut to size, it's time to start assembling your rabbit nesting box. Start by attaching the sides to the floor using screws or nails, ensuring that the structure is sturdy. Then, attach the front piece with the lip, followed by the back piece. If you're adding a top or shelf, attach it last, making sure there's enough space for the doe to comfortably get in and out.
Step 3: Adding the Hardware Cloth
For the bottom of your rabbit nesting box, cut a piece of hardware cloth to fit inside the box. This will allow urine and feces to fall through, making for easy cleaning. Use a staple gun to secure the hardware cloth to the bottom of the box, ensuring that there are no sharp edges exposed.
Step 4: Finishing Touches
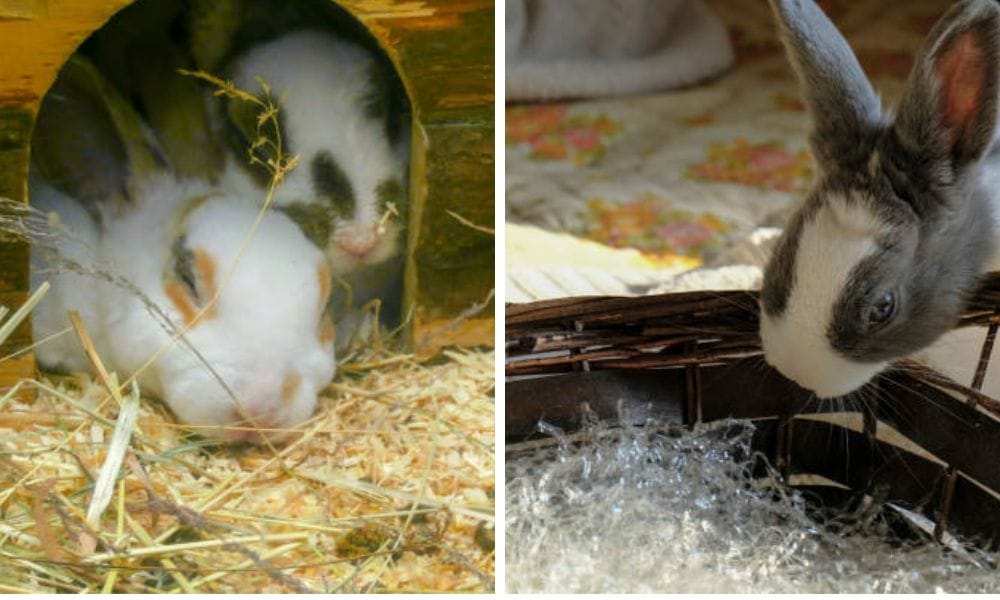
With the structure built, it's time to add the finishing touches to your rabbit nesting box. Sand down any rough edges to prevent injury to the rabbits. If you're using the box in colder climates, consider adding extra insulation to keep the kits warm during winter. You can line the box with straw or hay to provide a comfortable bedding that can be easily replaced.
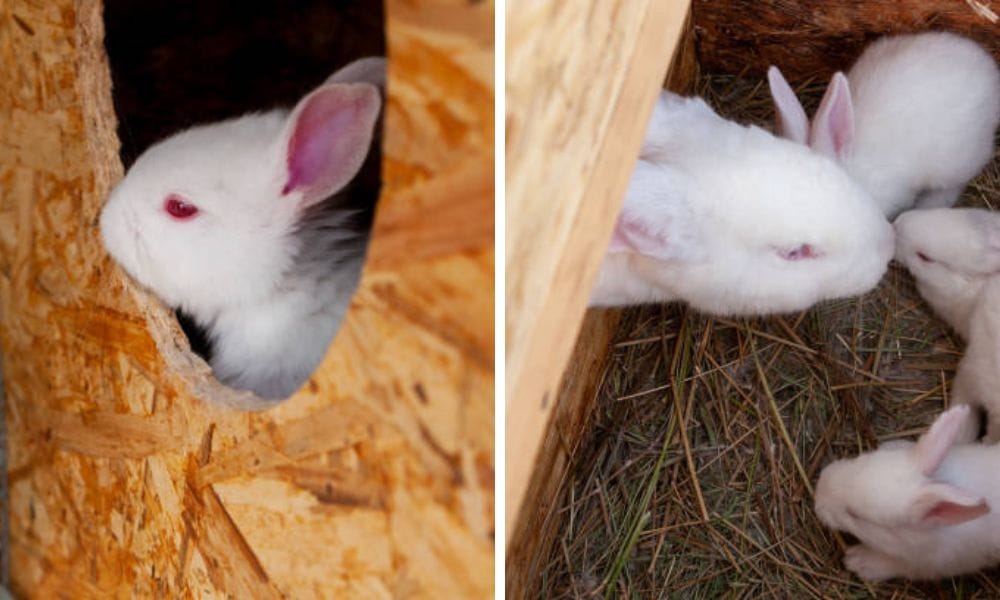
Creating a Comfortable Environment with Nest Boxes
Creating a comfortable environment for your rabbits is crucial for their health and well-being, especially when it comes to nesting boxes. A well-designed nest box can provide a safe and cozy space for your rabbits to give birth and care for their kits. Here are some tips to create a comfortable environment with nest boxes:
- Choose the Right Size: The nest box should be the perfect size for your rabbit breed. A box that is too small can be cramped and uncomfortable, while a box that is too large can be overwhelming. Consider the size of your rabbit and the number of kits she is expected to have.
- Use the Right Materials: The nest box should be made of a durable and easy-to-clean material, such as wood or plastic. Avoid using materials that can harbor bacteria or odors, such as untreated wood or fabric.
- Provide Adequate Ventilation: Good ventilation is essential for a healthy environment. Make sure the nest box has adequate ventilation to prevent the buildup of ammonia and moisture.
- Line the Nest Box: Lining the nest box with a comfortable and absorbent material, such as straw or hay, can help keep the kits warm and dry.
- Attach the Nest Box Securely: The nest box should be attached securely to the cage floor to prevent it from tipping over or being moved by the rabbit.
- Keep the Nest Box Clean: Regularly clean and disinfect the nest box to prevent the buildup of bacteria and odors.
By following these tips, you can create a comfortable and safe environment for your rabbits, ensuring that they have a cozy space to raise their kits.
Maintenance and Cleaning
Proper maintenance is key to ensuring the longevity of your rabbit nesting box and the health of your rabbits. The hardware cloth bottom makes it easy to clean out the box between litters. Regularly check the box for any signs of wear or damage, and replace any parts as necessary. Keeping the box clean will help prevent disease and keep your rabbits happy and healthy.
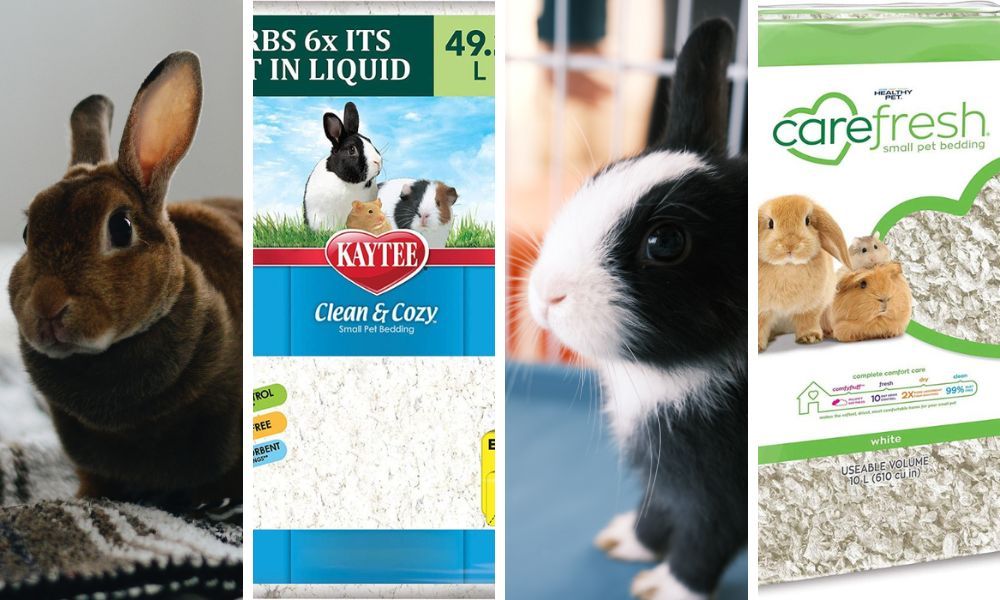
Preparing for New Litters
When you're expecting new litters, place the nest box in the doe's cage a few days before she's due to give birth. This gives her time to get accustomed to the box and start pulling fur to line it for her kits. Monitor the doe and her babies closely after birth, ensuring they are warm and well-fed, and that the nest box remains clean and dry.
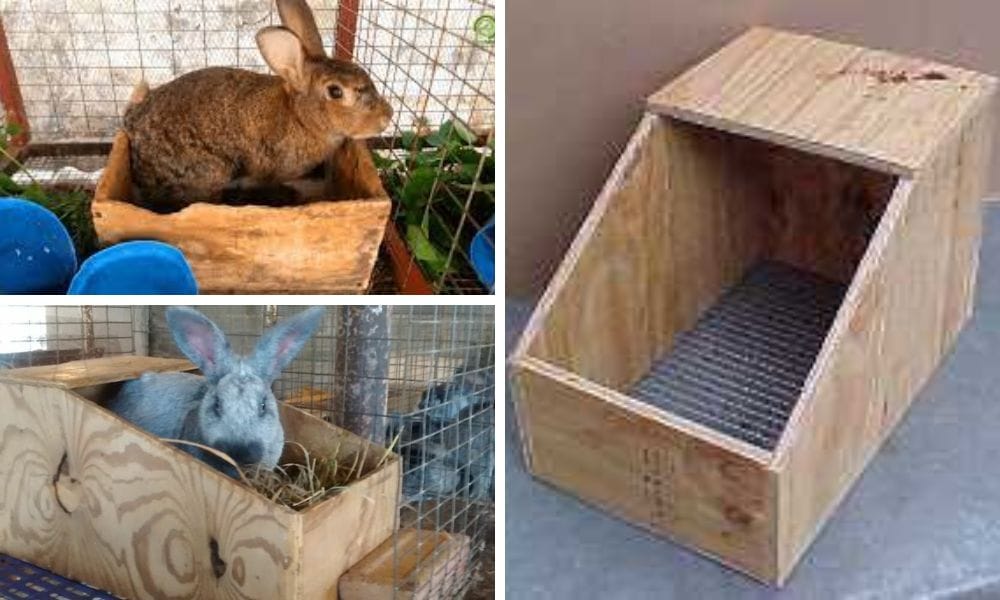
Troubleshooting and Tips for Success
Troubleshooting common issues with nest boxes can help ensure a successful breeding program. Here are some tips for success:
- Kits Not Using the Nest Box: If the kits are not using the nest box, it may be because the box is too small or too large. Try adjusting the size of the box or adding more bedding to make it more comfortable.
- Nest Box Too Hot or Cold: If the nest box is too hot or cold, it can be uncomfortable for the kits. Try adding more bedding or using a thermometer to monitor the temperature.
- Kits Getting Stuck in the Nest Box: If the kits are getting stuck in the nest box, it may be because the entrance is too small. Try enlarging the entrance or adding a ramp to make it easier for the kits to enter and exit.
- Nest Box Not Secure: If the nest box is not secure, it can tip over or be moved by the rabbit. Try attaching the box more securely to the cage floor or using a heavier box.
- Kits Not Nursing: If the kits are not nursing, it may be because the nest box is not comfortable or the doe is not feeling secure. Try adding more bedding or providing a hiding place for the doe to feel more secure.
By following these tips and troubleshooting common issues, you can create a comfortable and successful environment for your rabbits with nest boxes.
Summary
Building a DIY rabbit nesting box is a rewarding project that provides your rabbits with a safe and comfortable space to raise their young. By following these step-by-step instructions, you can create a quality nesting box that is easy to clean and maintain. Remember to choose safe materials, ensure proper dimensions, and keep the box in good condition for the well-being of your rabbit family.
FAQ Section
Q: What size should a rabbit nesting box be? A: The size of the rabbit nesting box should be based on the breed and size of your rabbits. A standard size is approximately 18 inches long, 10 inches wide, and 10 inches high, but you may need to adjust these dimensions for larger or smaller breeds.
Q: How often should I clean the rabbit nesting box? A: The nesting box should be cleaned between each litter. If the bedding becomes soiled or wet, it should be replaced immediately to keep the environment clean and dry for the doe and her kits.
Q: Can I use any type of wood to build a rabbit nesting box? A: It's best to use untreated plywood or solid wood to build your rabbit nesting box. Treated woods can contain chemicals that are harmful to rabbits. Ensure that the wood is smooth and free of splinters to prevent injury.

